
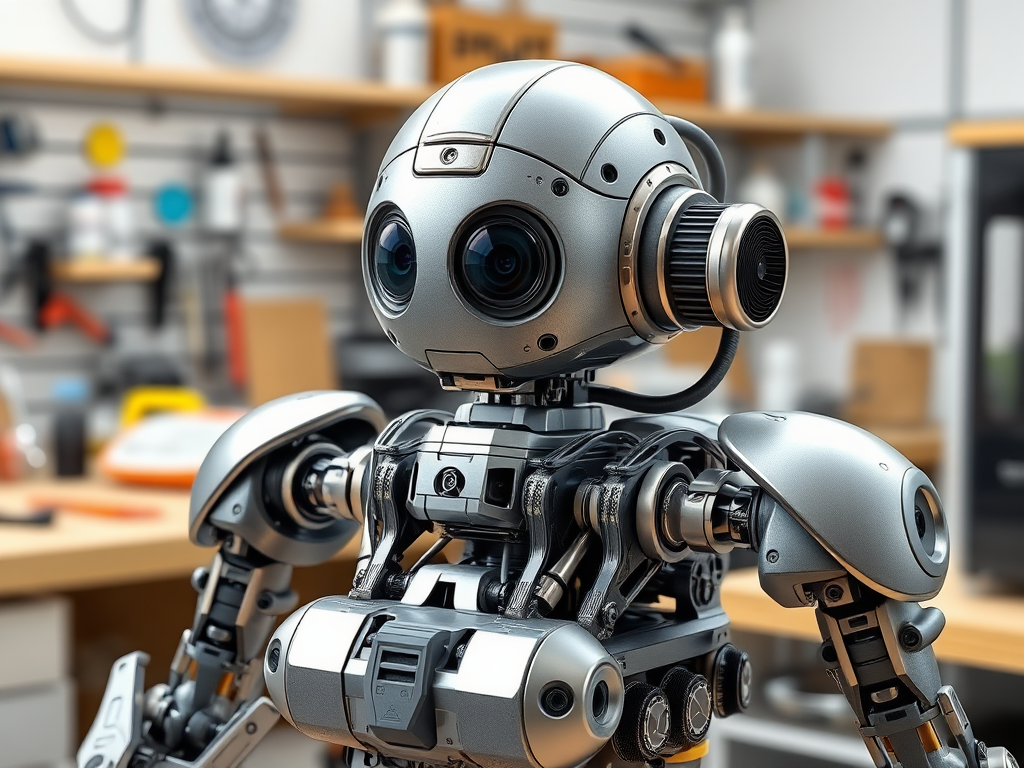
For enthusiasts, engineers, and teachers equally, a 3d-printed drawing of a robot with a camera combines engineering, robotics, and artistic design. 3D printing lets you fully customise and precisely create both creative and utilitarian robotic models, including cameras. From materials and software to debugging and improvements, this article will walk through how to design, print, and maximise a 3d-printed robot with a camera.
Best Materials for 3d Printing a Robot with a Camera
Stability, strength, and weight optimisation all depend on proper material choice.
1. PLA (Polylactic Acid) – Ideal for Stationary Models
- Simple, printable, robust for stationary robots.
- Not appropriate for high temperatures or moving components, brittle.
2. Strong and Flexible PETG (Polyethene Terephthalate Glycol)
- More wear- and tear-resistant than PLA, more durable.
- Calls for exact print settings to prevent stringing.
3. Best for Longevity – ABS (Acrylonitrile Butadiene Styrene)
- Heat-resistant, impact-resistant, fit for robotic motion.
- Warping prone requires a contained printer.
4. TPU (Thermoplastic Polyurethane) – Flexible Components
- Perfect for flexible joints and stress absorption.
- Calls for reduced print speeds and direct drive extruders.
Setting 3d Printing for Robot Components
1. Print Resolution and Layer Height
- 0.1–0.2 mm for detailed components, such as camera mounts.
- 0.3mm for bigger structural elements to cut print times.
2. Density for Infill
- 20–30% for lightweight components.
- 50–80% for high-strength components.
3. Print Speed and Nozzle Temperature
- Print Speed for exact detail: 40-60mm/s.
- Temperature of the nozzle:
- PLA: 190–220°C
- PETG: 230–250°C
- ABS: 220–250°C
- TPU: 210–230°C
4. Adhesion and Warping Avoidance
- Use a heated bed, depending on the material, at 50 to 110°c.
- To stop warping, use a brim or raft.
Why 3D Print a Cam-Equipped Robot?
1. Scalable and Customised Design
- Change mechanical constructions, forms, and sizes to fit specific purposes.
- Customise the robot for several cameras, ranging from high-definition FPV cameras to small security cameras.
2. Cost-Efficient Prototyping
- Compared to conventional machining, 3d printing lowers manufacturing costs.
- Perfect for the early development of robotics projects before mass manufacture.
3. Flexible Uses
- Applied in STEM teaching, monitoring, automation, and even artistic installations.
- Customised for motion tracking, object detection, or interactive robotic displays as well.
4. Ideal for Open-Source Projects and Do-It-Yourself Robotics
- Compatible with custom microcontrollers, Arduino, or Raspberry Pi.
- Simply integrating actuators, servo motors, and extra sensors.
3d-Printed Robot Design with Cam
1. Concept and Blueprint Development
- Plot the frame, joints, and cam mounting positions of the robot.
- Choose among USB, WiFi, motion-tracking, etc., the kind of camera.
2. 3d Modelling CAD Software
- Designs for robotic arms, mounts, and body parts call for Fusion 360, Tinkercad, or Blender.
- More sophisticated CAD tools for exact mechanical construction include Onshape or SolidWorks.
3. Important Attributes to Incorporate
- Check the camera housing for a fixed, changeable mounting bracket.
- Modular components let you easily update by swapping out sections.
- Design areas for managing wire and power connections.
- Servo motor slots allow for adding motion and automation features.
Improvements for a Cam-Driven Functional Robot
1. Including Motion and Automation
- Robotic arm movement with servo motors.
- Stepper motors for exact placement.
2. Including Devices
- Arduino or Raspberry Pi for automation and camera control.
- Bluetooth and Wi-Fi modules for remote access and live streaming.
3. Concerns about Power Sources
- Portable Li-ion battery packs.
- Solar charging for sustainability or USB power.
Typical Problems and Fixing
1. Either Warping or Poor Print Quality
Solution: Change cooling settings using a heated bed.
Use robust bed adhesion techniques such as a PEI sheet or glue stick.
2. Poor Structural Integrity
Solution: Raise wall thickness and infill percentage.
For durability, use PETG or ABS instead of PLA.
3. Not Stable Camera Mount
Solution: Design a snap-fit or screw-in camera holder.
Use TPU or rubberised finishes for better grip.
4. Wiring and Cable Messing
Solution: Plan with built-in cable management channels in mind.
Arrange wires using zip ties or clips.
Where Might One Find 3d Models for a Robot with a Camera?
- These sites provide pre-designed 3D models if you wish not to start from nothing:
- Thingiverse: Free designs created by communities under direction.
- My Mini Factory: Verified premium models.
- Cults3d: Paid and free premium designs.
- CGTrader: Professional robotic models available.
READ MORE – Tradehome Shoes: Elevate Your Footwear Game
FAQs:
1. Can I 3D print a camera-equipped working robot?
Yes! You can design a working robotic system using servo motors, a Raspberry Pi, an Arduino, or another tool.
2. For a moving robot, which filament works best?
PETG and ABS provide high strength, durability, and heat resistance.
3. Can I remotely operate my 3d-printed robot?
Yes, Wi-Fi or Bluetooth modules enable remote operation.
4. How can I firmly attach the camera?
Design a custom camera mount using a snap-fit mechanism or screw holes.
5. How long does it take to print a robot with a camera?
Size, layer height, and infill define printing time. A complete model may take 10–20 hours.
Conclusion
A 3d-printed robot with a camera is a remarkable fusion of technology, engineering, and art. 3D printing enables full customisation of a functional robot for STEM projects