
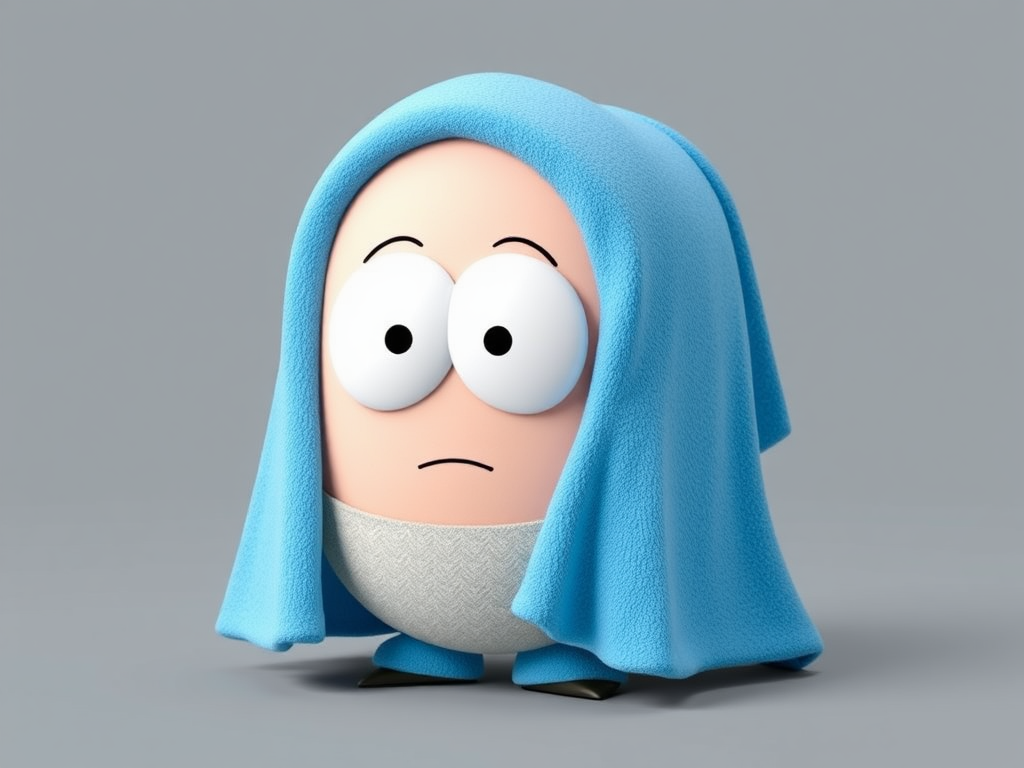
Towelie, the hilarious and ever-stoned towel from South Park, has become a fan-favourite character since his debut. Whether you’re a dedicated collector or a 3D printing enthusiast, creating a South Park Towelie 3D print is a fun and rewarding project. This guide will cover everything you need to kno,w from finding the best Towelie STL files to printing and finishing your 3D model.
Why 3D Print a South Park Towelie?
There are several great reasons why 3D printing Towelie is a must for any South Park fan:
1. Unique Collectable
- A custom Towelie 3D print is a perfect addition to any South Park memorabilia collection.
- You can scale it to any size, from a desk figurine to a life-sized display.
2. Cost-Effective
- Printing your own Towelie figure is often cheaper than purchasing pre-made collectables.
- You can use budget-friendly PLA or high-quality resin for different levels of detail.
3. Fully Customizable
- Adjust the design, pose, or even add a built-in LED system for glowing eyes.
- Experiment with different filaments and painting techniques for a personalised look.
Where to Find Towelie 3D Model STL Files
If you’re wondering where to download Towelie 3D print files, here are the best sources:
- Thingiverse (Free community-contributed models)
- MyMiniFactory (Curated, high-quality designs)
- Cults3d (Exclusive and premium models)
- CGTrader (Professional-grade 3D assets)
If no STL file matches your vision, you can also design your own using Blender, Tinkercad, or Fusion 360.
Best 3D Printers for Printing Towelie
Your choice of 3D printer will affect the final quality of your Towelie figure. Here are the best options:
FDM Printers (Budget-Friendly, Large Prints)
- Creality Ender 3 V2 – Great for beginners, affordable, and reliable.
- Prusa i3 MK3S+ – High-quality FDM printing with excellent support.
- Anycubic Kobra – Easy setup with auto-levelling.
Resin Printers (High Detail, Smaller Prints)
- Elegoo Mars 3 – Affordable, perfect for detailed figurines.
- Anycubic Photon Mono X – Larger build volume for bigger models.
- Phrozen Sonic Mini 8K – Wonderful detail for professional results.
Best Filaments & Resins for Towelie
- PLA – Budget-friendly and easy to use.
- PETG – More durable, slightly flexible.
- Resin – Ideal for high-detail models, with a smooth finish and no visible layers.
- TPU – A flexible filament to make a real towel-like Towelie!
Step-by-Step Guide to Printing Towelie
Step 1: Prepare the STL File
- Download the Towelie STL file from your preferred source.
- Load it into slicing software, such as Ultimaker Cura, PrusaSlicer, or Lychee Slicer, for resin prints.
Step 2: Optimise Print Settings
- FDM settings:
- Layer height: 0.2mm (Standard) or 0.1mm (High Detail)
- Infill: 20-30% for strength without wasting filament
- Supports: Enable for overhanging parts
- Resin settings:
- Layer height: 0.05mm for ultra-fine detail
- Exposure time: Adjust based on resin type
Step 3: Start the Print
- Ensure proper bed adhesion by using a heated bed or a glue stick for FDM prints.
- Monitor the first few layers to prevent warping or shifting.
- Expect print times to be between 4 and 12 hours, depending on the size and type of printer.
Step 4: Post-Processing
- FDM Prints:
- Remove supports carefully.
- Sand any rough edges.
- Apply primer before painting for a smoother finish.
- Resin Prints:
- Wash with isopropyl alcohol (IPA).
- Cure under UV light.
- Sand and polish for best results.
Painting & Finishing Your Towelie Figure
To make Towelie look authentic, follow these painting steps:
- Base Coat: Use a light grey or white primer for best colour adhesion.
- Acrylic Paints:
- Blue for the body
- White for the arms and eyes
- Black for outlining facial features
- Yellow for Towelie’s stripes
- Fine Detail Work: Use thin brushes or paint markers for eyes and mouth.
- Final Sealant: Apply a matte or gloss finish to protect the paint.
Common 3D Printing Issues & How to Fix Them
1. Warping or Curling
- Use a heated print bed set to 60°c for PLA and 80°c for PETG.
- Apply adhesive, such as a glue stick or blue painter’s tape.
2. Stringing or Oozing
- Reduce nozzle temperature slightly.
- Enable retraction settings in your slicer.
3. Poor Surface Finish
- Lower the print speed.
- Increase wall thickness for smoother prints.
READ MORE – Monkey Shot Glass 3d Print: Creative Guide for DIY Makers & Collectors
FAQs
1. Where can I find a South Park Towelie 3D model?
You can find Towelie STL files on Thingiverse, MyMiniFactory, Cults3d, and CGTrader.
2. What’s the best 3D printer for printing Towelie?
For affordability and size, use Creality Ender 3 V2. For high detail, go with Elegoo Mars 3.
3. How long does it take to print Towelie?
Printing Towlie takes between 4 and 12 hours, depending on the size and print settings.
4. What’s the best way to paint a 3d-printed Towelie?
Use acrylic paints, start with a primer base, and seal it with a protective clear coat.
5. Can I make a flexible Towelie with 3D printing?
Yes! Print with TPU filament to create a bendable, towel-like Towelie figure.
Conclusion
Creating a South Park Towelie 3D print is an exciting project that brings this iconic character to life. Whether you want a desk collectable or a full-scale display, following the proper steps in 3D printing, post-processing, and painting will ensure you get a high-quality result. Ready to get started? Download a Towelie STL file and bring your favourite talking towel to life today!